Miles College is a liberal arts college located just west of Birmingham, in the city of Fairfield. Founded in 1898, the school’s mascot is the Golden Bear, and its football team belongs to the NCAA Division II, where they compete with teams across the country.
On Saturday nights in the fall, as with many other places throughout the South, you can join thousands of other fans to watch the Golden Bears play in Albert J. Sloan-Alumni Stadium. The home side of the stadium will be filled with countless fans - families, really - proudly wearing the purple and gold. For these people, Miles College football means a lot.
It especially means a lot for Hyman Nall.
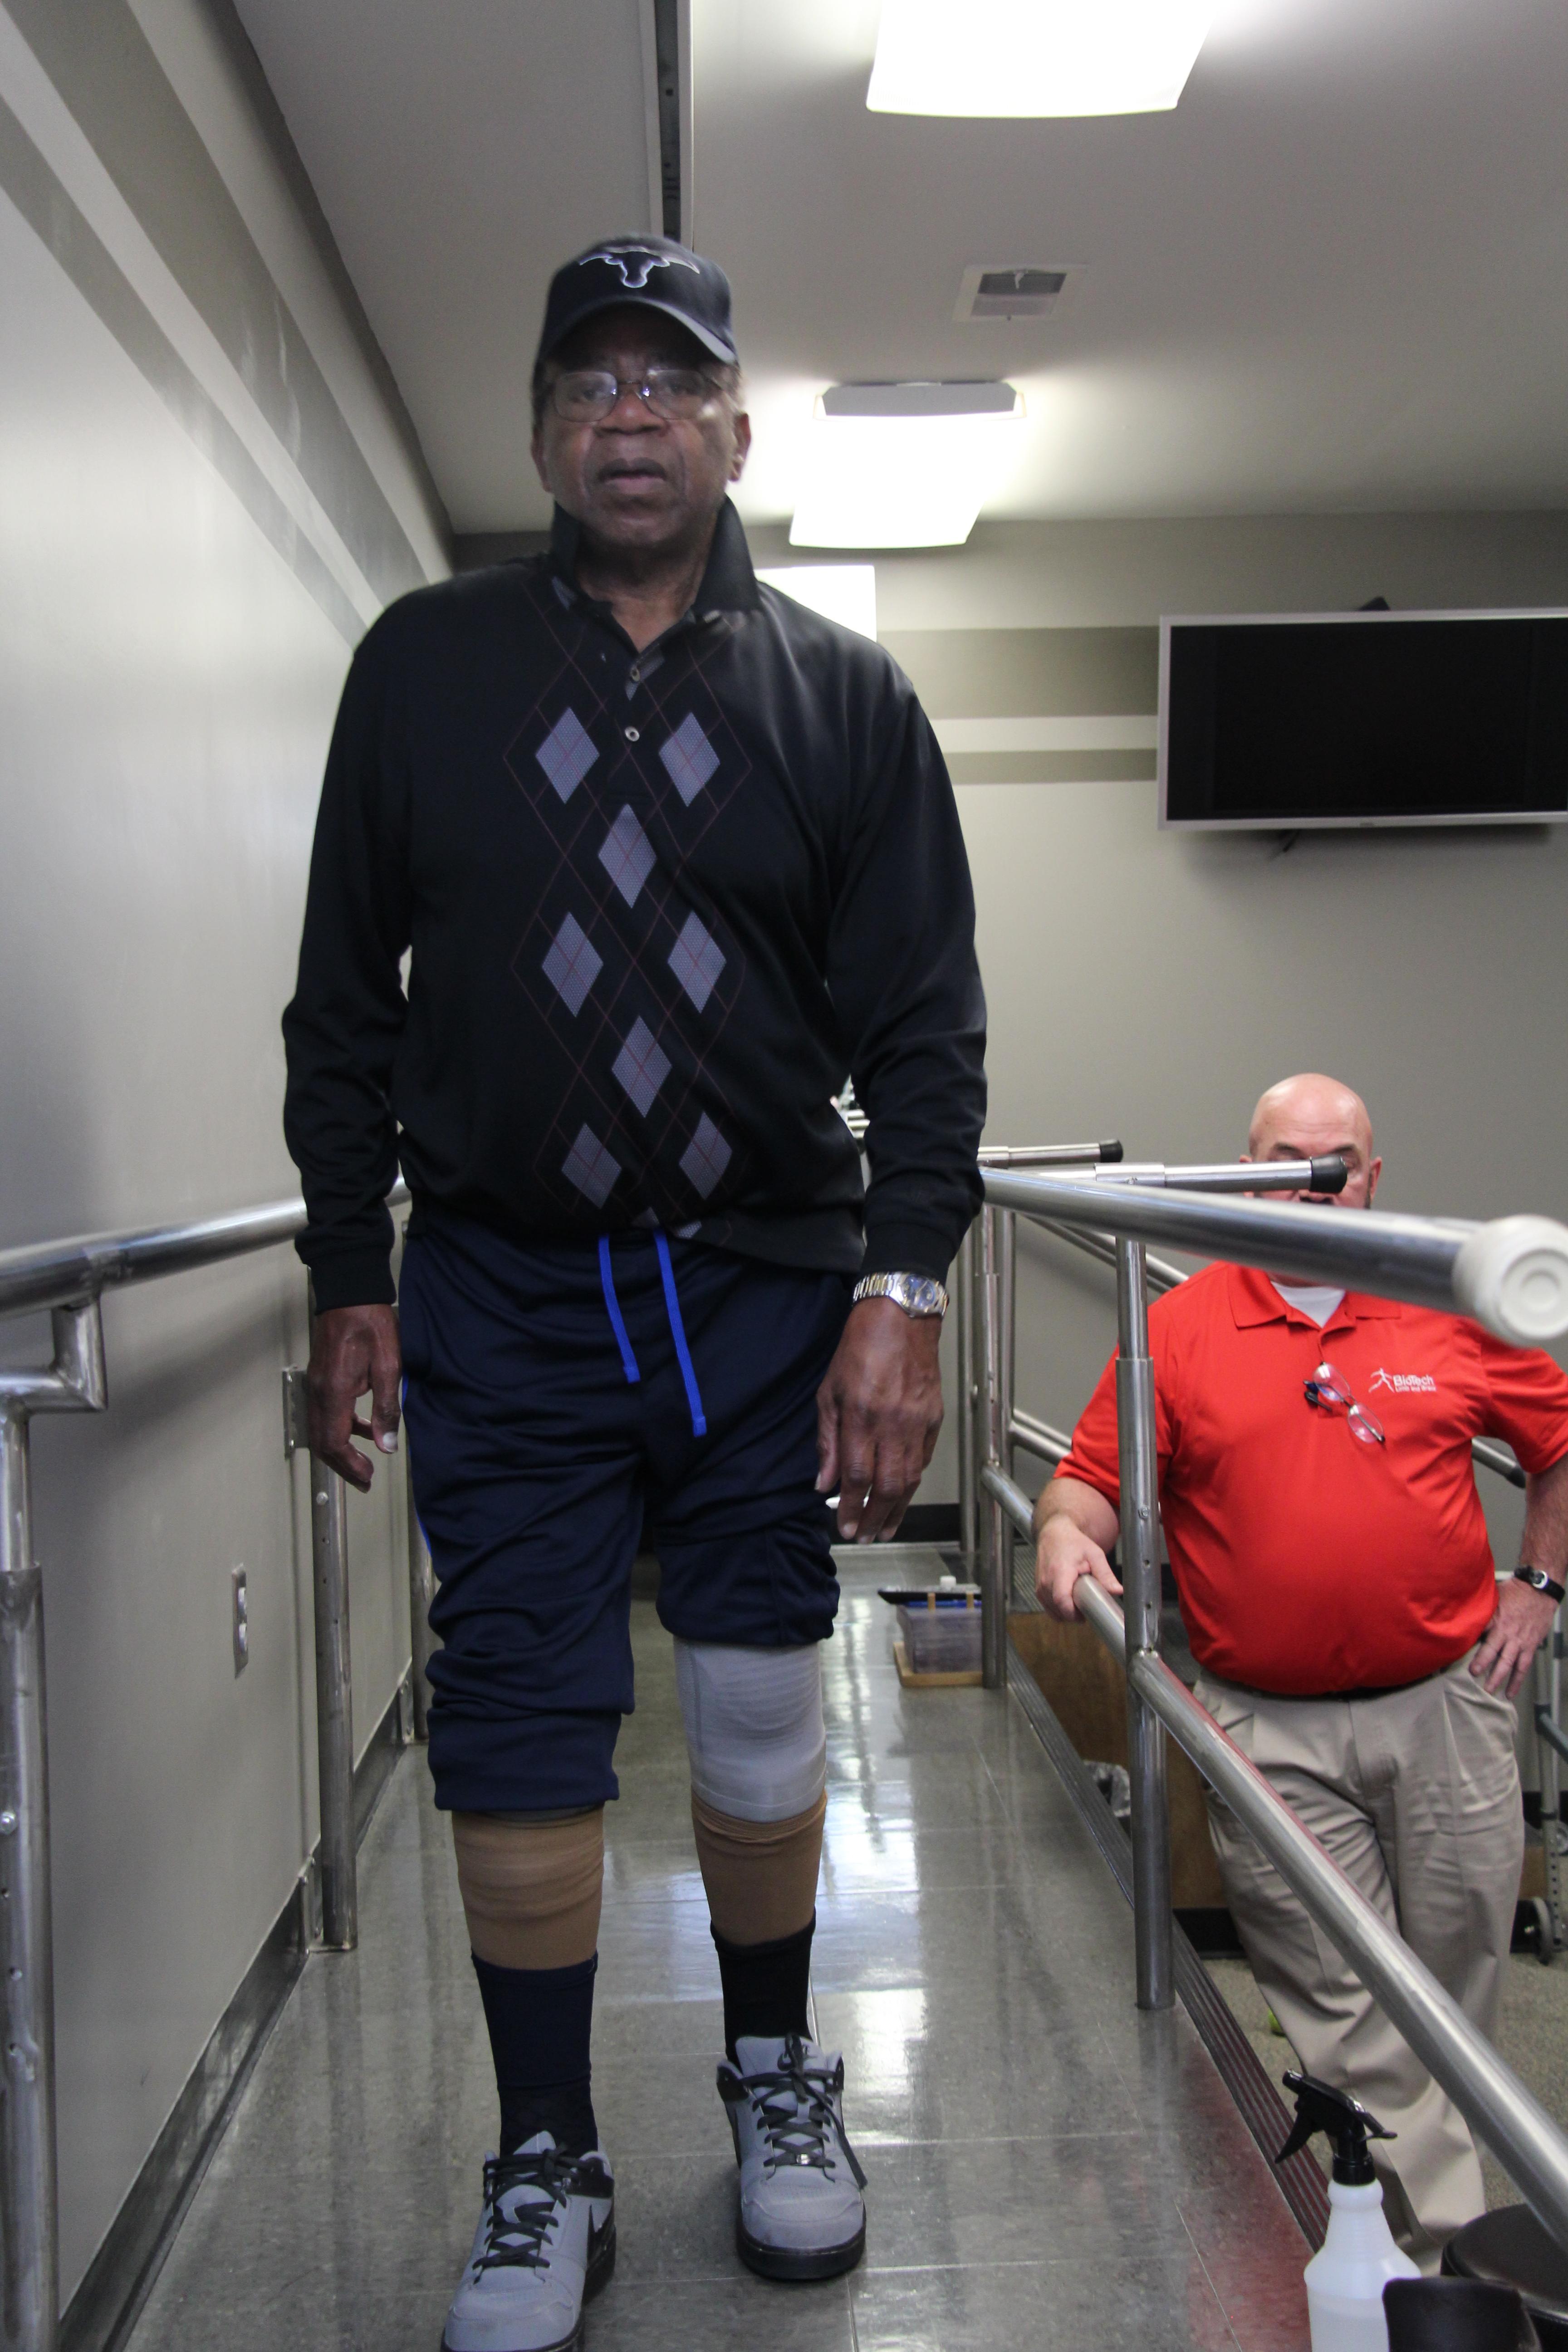
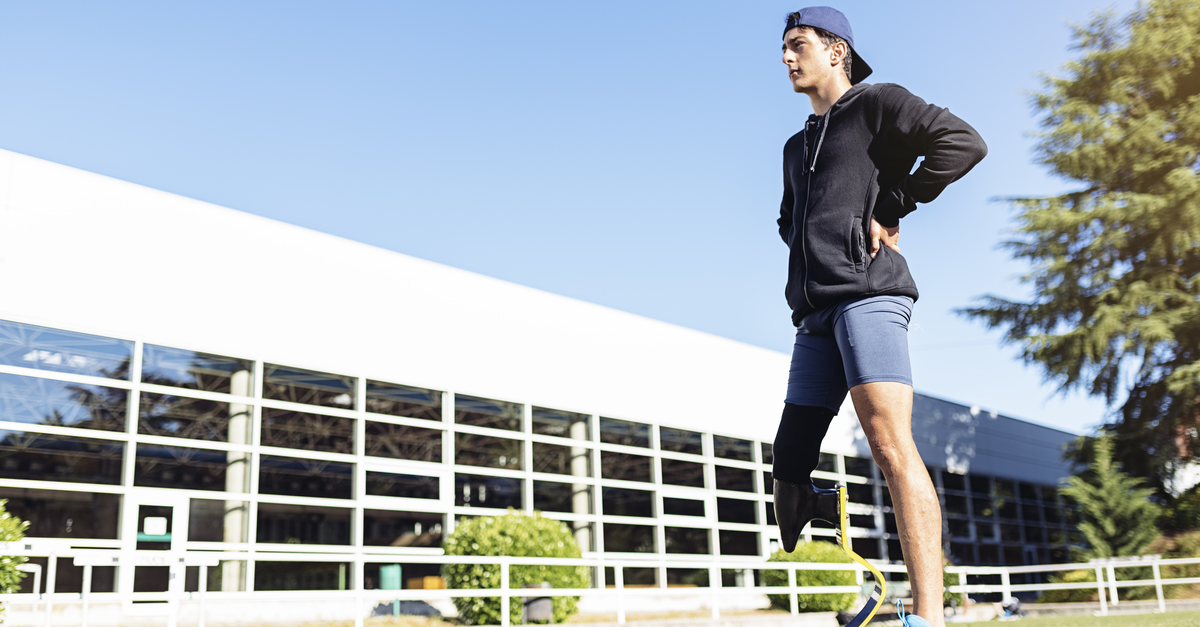
Mr. Nall can be found in the stadium each and every Saturday night in the fall, watching his beloved Golden Bears play. He’s always been a big supporter and booster of the college and hates to miss a game. You’ll probably notice him, if you go; he’ll be the energetic 76-year-old yelling and cheering. He’ll also be the one walking carefully up and down the steps - which is amazing that he’s walking at all, considering he’s a double amputee.
Three years ago, due to a mixture of genetic conditions and diabetes, Mr. Nall lost his first leg. A year later, he lost his second. Suddenly, at the age of 74, Mr. Nall found himself faced with the prospect of never walking again - of never walking up and down the steps at Miles College under his own power.
Two years and many visits to several prosthetic device makers later, Mr. Nall found himself at BioTech, being outfitted with the latest set of legs. His new prostheses were beyond anything he had ever had before, with suction suspension and custom silicone liners made at our in-house silicone lab. They would get him where he needed to go - but only if he could master them.
So the work began. Under the tutelage of Eric Eisenberg and the BioTech team, Mr. Nall began the journey to regain mobility. It wasn’t easy. Walking without assistance for a double leg amputee is difficult, far more so than most people can understand. The tendency is always there to reach out and grab something for fear of falling over, and even after several sessions, Mr. Nall was doing just that - just trying to stand, let alone walk.
Eventually, he was able to stand, and even take steps forward. Then he had to do something most people don’t think twice about: turn around. It seems so simple, just a few steps in a small circle. But for Mr. Nall, it was a barrier, one that he had to tackle relentlessly, just like one of the football players he loves to watch.
But tackle it he did.
Through toughness and perseverance, after session after session, Mr. Nall was finally able to do something he had once thought he’d never be able to do again: walk unassisted, completely on his own, under his own power.
It took a combination of sheer willpower and modern technology to get him to this point, but now Mr. Nall can move around like a pro. He’s still learning, still practicing, but he’s to the point where those steps in the Miles College stadium won’t hold him back.
Come fall, when the temperature drops and the leaves start to hit the ground, you’ll find him where he always is on a Saturday night - sitting in the stands, watching his team play, and enjoying the simple things in life that others might take for granted. Like the ability to walk again, to be independent, to be free of crutches and canes and wheelchairs.
Prosthetic devices can go a long way, but a spirit unwilling to quit - a spirit willing to compete - has to handle the rest. And like the Golden Bears, Mr. Nall has that spirit through and through.

Those who have experienced limb loss have a lot to learn when it comes to living a full, functional life. One of the things that many amputees have to adjust to is sock management - i.e. using socks to control and adjust the fit of their device for maximum comfort and function.
As you’ll see, sock management isn’t always intuitive. But it’s key to being as comfortable as possible with a prosthetic device.
Why Is Sock Management Important?
When people wear below the knee prostheses, they wear socks of different thicknesses, which we call plys. For one recent patient of ours, for example, we gave him 1-ply, 3-ply, and 5-ply socks. A 5-ply sock is five times thicker than a 1-ply sock. So, if you’re wearing five 1-ply socks, it’s the same as wearing one 5-ply sock.
When a patient with a below the knee prosthesis takes the leg off at night, and when they lay in their bed in a horizontal position, their body fluid goes all throughout their body and their legs swell up a little bit. When they put their weight on the prosthesis, they’re pushing body fluid up and out of the limb, which means the residual limb shrinks throughout the day.
How Sock Management Can Be Counter-Intuitive
How we adjust socks to fit our limbs and prostheses isn’t as straightforward as you’d think.
When something feels tighter, we normally think we should remove a layer. If you were wearing two socks in your shoes, for example, and your shoes felt tight, common sense would tell you to take off a layer.
But with limb loss, it’s different. Since that residual limb is smaller during the day, it’s pressing deeper into the socket as pressure is applied to it. That is what makes the socket feel tighter.
So, the solution is to add another layer to provide a buffer, which is done by adding another sock or going up to a higher ply sock.
It’s counter-intuitive, but it’s a very important piece of information for any person with limb loss.
Practice Makes Perfect
Through practice, you’ll learn how to listen to your body and adjust as needed. You’ll become more familiar with the patterns of your body and how your prosthesis fits throughout the day, and you’ll get better at sock management to make sure you’re comfortable all day long.
We recently had a patient named Mr. Nall. Mr. Nall is a double amputee with two below the knee prostheses. One of the things he has learned is how to manage fit through his socks. We gave him 1, 3, and 5-ply socks and taught him how to listen to his body. As a result, he’s walking better and experiencing more comfort, too.
Now, Mr. Nall can go to his beloved Miles College and watch the Golden Bears play while walking up and down the stands in comfort - thanks to sock management.
At BioTech, we help our patients learn sock management as a part of our service to them as valued patients. If you have a question about sock management, or anything to do with getting a prosthetic device, contact us - we’d love to help.
Building a great prosthesis or orthosis is an art and a science. A lot of artistry goes into designing these devices, but we also use technology to our advantage.
Over the years, we’ve developed a proven three-step process that we use to create prosthetic and orthotic devices that fit perfectly and perform beautifully. The cutting-edge technology we use in our process is not only very effective; we also think it’s extremely cool.
Here, we’ll walk through the three components we use to build better devices for our patients.
Step #1: Laser Scanning
In the days before modern technology, we fitted patients by taking plaster casts of their limbs and then used those to carve the final product.
These days, we don’t have to do that. We have something better: laser-scanning technology.
Using a high-precision laser scanner (we have two different ways to scan your body), we can accurately capture the shape of the residual limb, or the part being braced, and upload the scan into the computer.
Lasers are far more precise and accurate than plaster or any other by-hand method. Better precision results in a better fit with the final prosthesis or brace.
Laser scans also let you show physical proof to insurance companies of why you need a new limb or brace. It gives you justification that increases the chances that insurance companies will pay for it.
Laser scanning also gives you a track record of how you have grown, which is really important when it comes to adjusting devices.
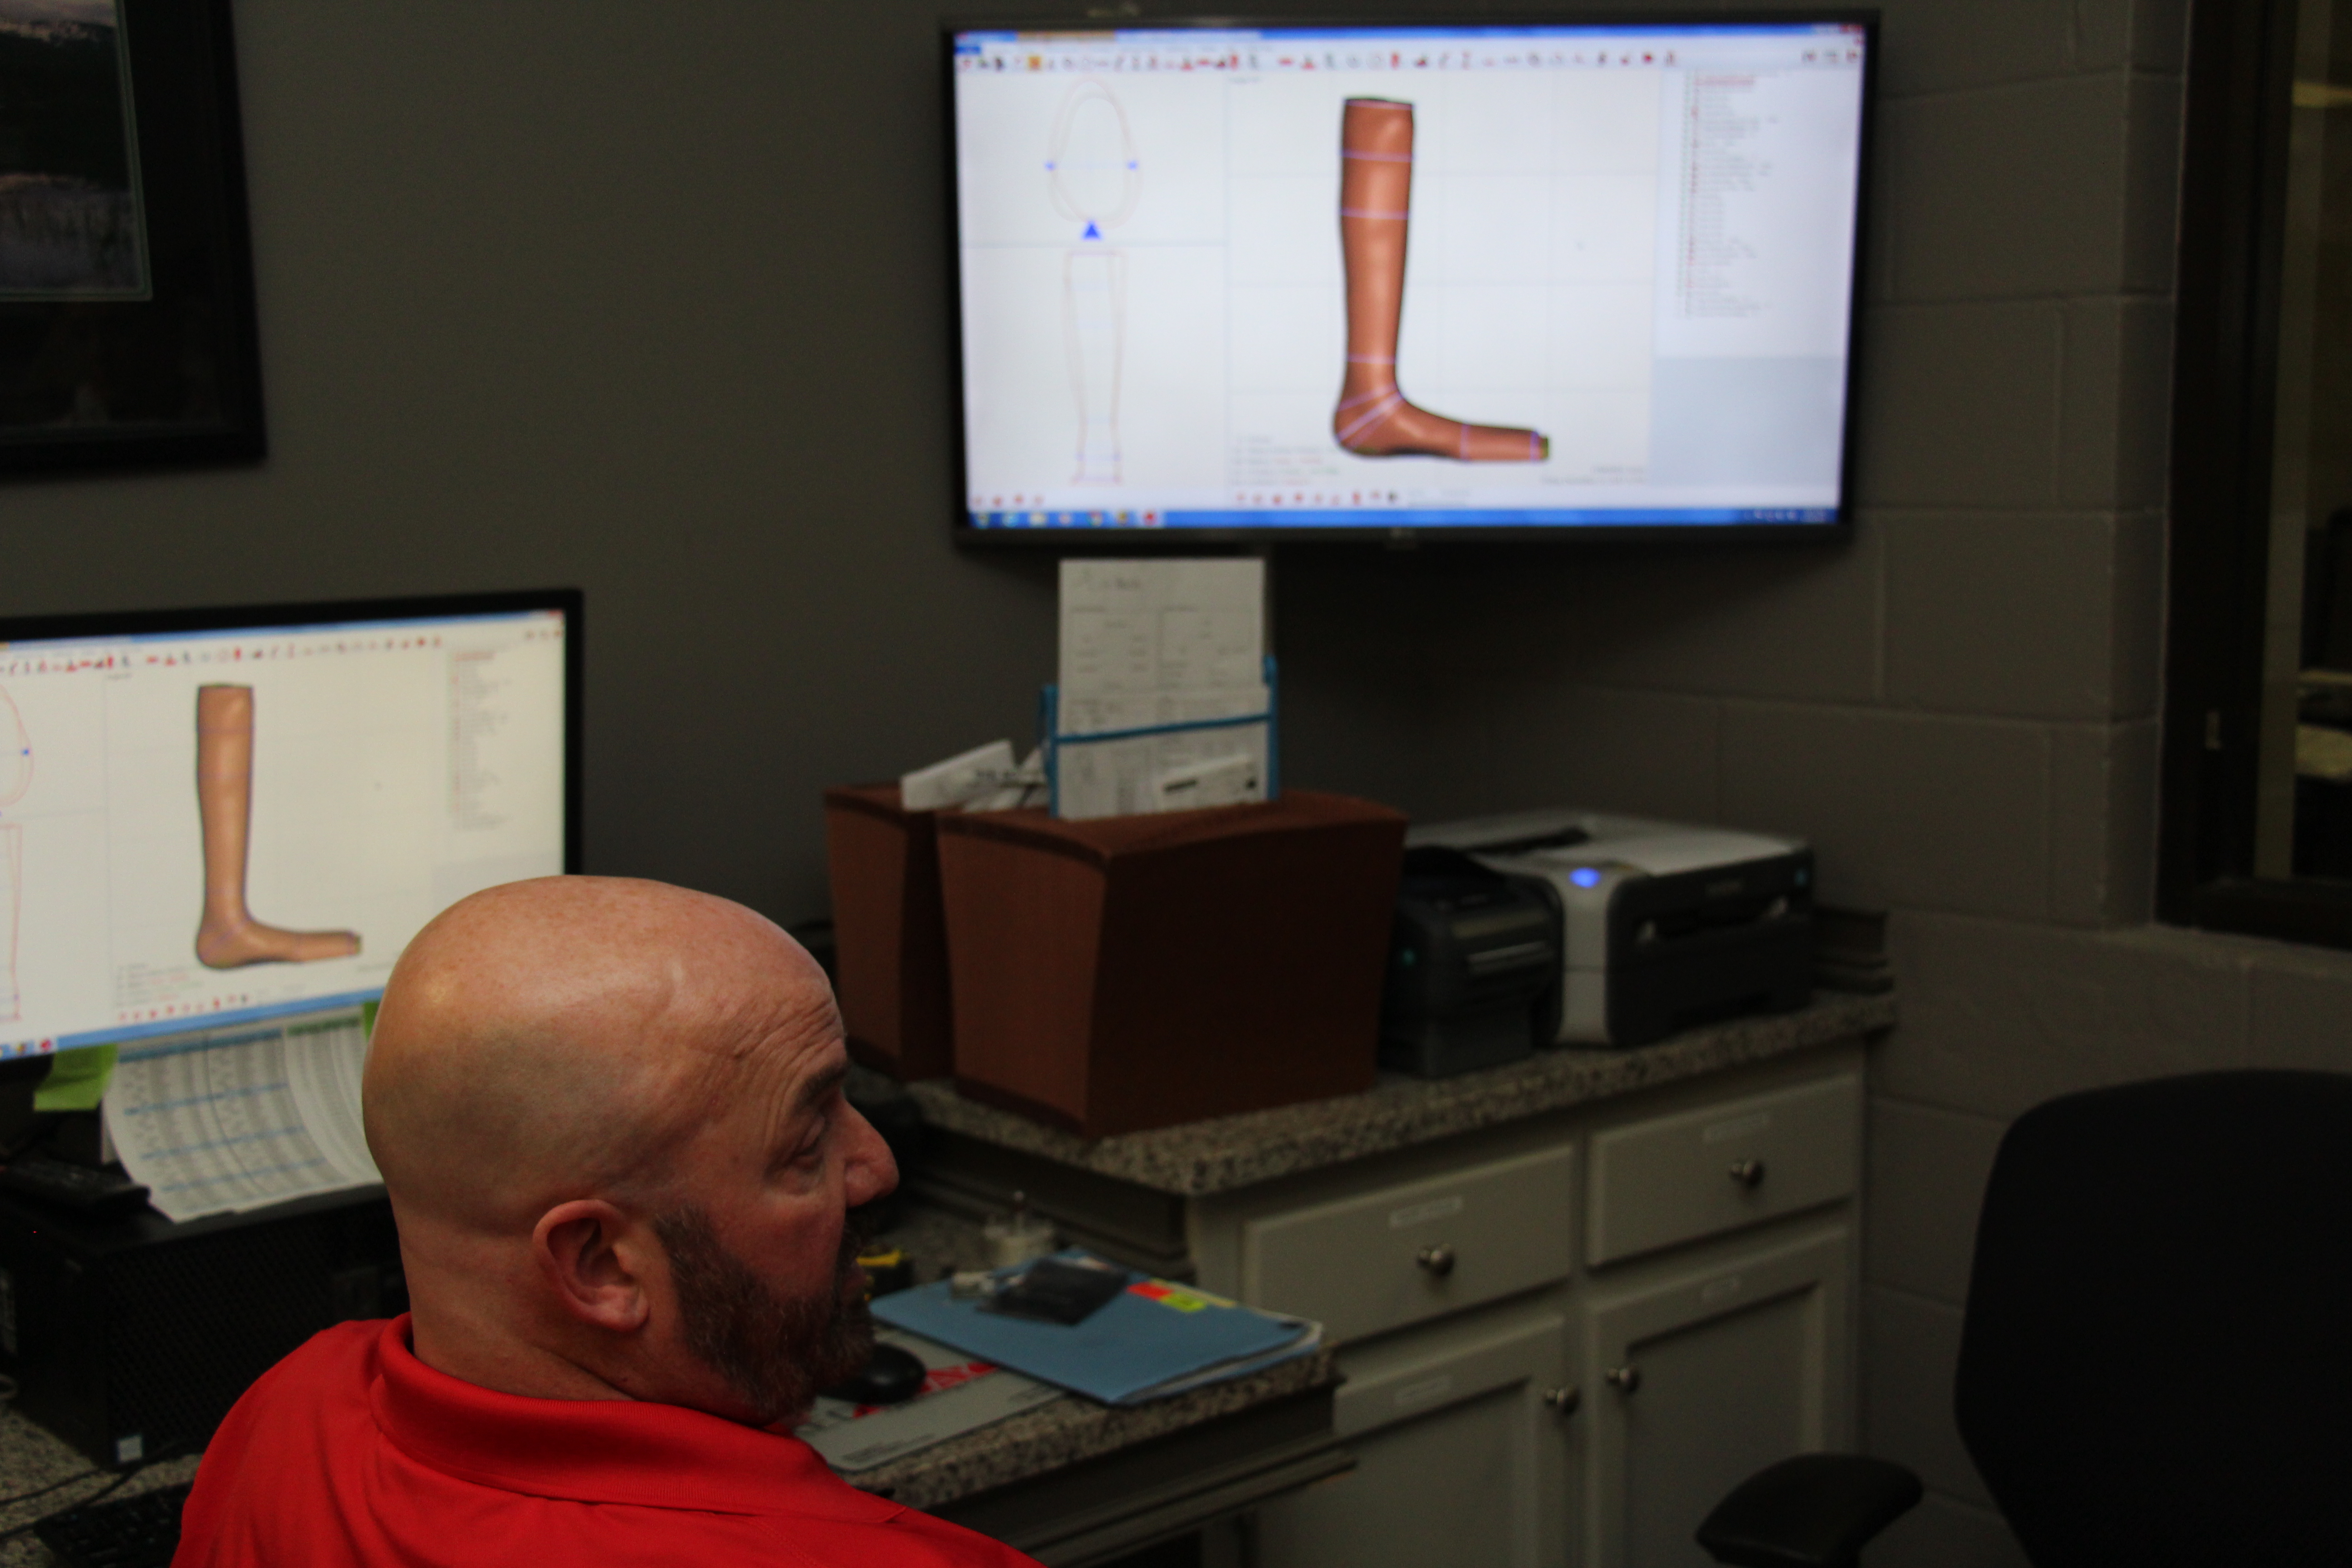
Step #2: Upload to CAD
After we take the laser scan, we upload it to our Rodin 4D computer-aided design (CAD) software.
Rodin 4D allows us to start designing the device. We can change the shape, tweak it, and make it exactly how we want.
One big advantage of using a CAD system is that you can see what the finished product will be like before you go through the production process. If there’s a problem with fit, you can notice it well before you start carving anything.
Step #3: Carving the Piece
Finally, after we’ve scanned your body and uploaded the scan into CAD to ensure the correct fit, we start the carving process.
We use a highly-specialized robot that is the first of its kind in the state of Alabama to carve solid pieces from blocks of foam. The robot is programmed using CAM software - computer-aided manufacturing - that is accurate down to millimeters. It’s amazing to watch it rotate and carve with such master precision far beyond what human hands can deliver. Since the precision is so high, the fit is guaranteed to be better than what can be done by hand.
Better Devices for Deserving Patients
Our patients deserve the best-fitting prosthetic and orthotic devices in the world. We’re confident that our three-step process using cutting-edge technology delivers those devices to our patients and gives them something that will fit and function as well as possible.
Learn more about our process by consulting with our team of specialists, and contact us to learn more about how you can get started with recognizing your possibilities.
Living with limb loss can be challenging, but in today’s world, there’s a wealth of resources to make life easier and more productive for amputees.
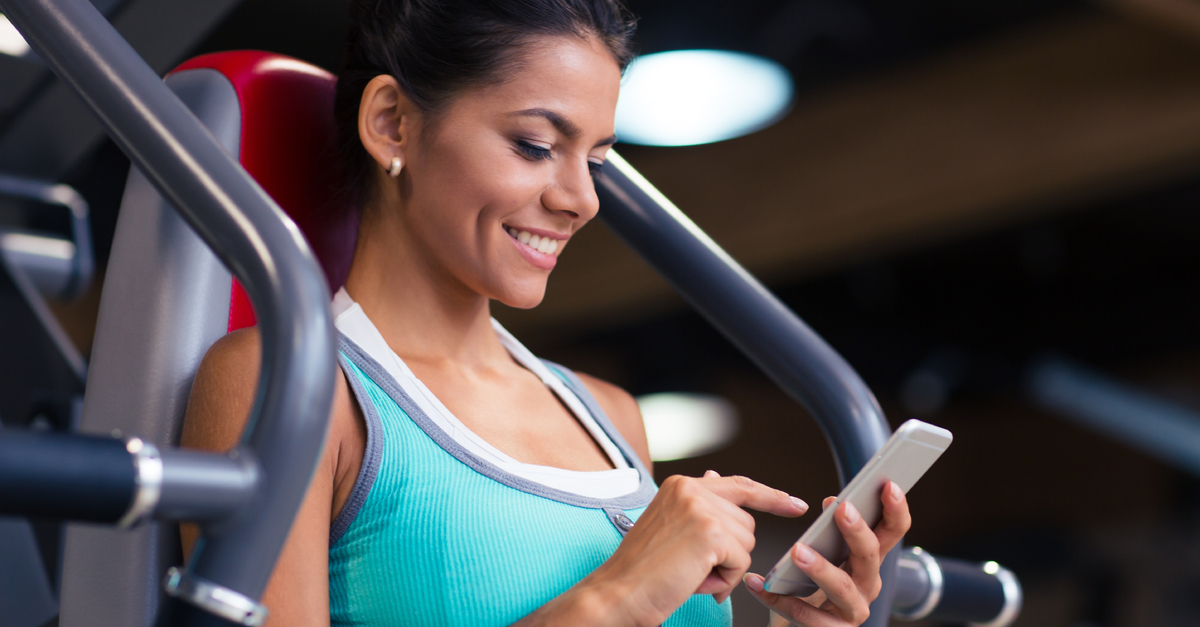
This includes technology that helps you make the most of your prosthesis and create possibilities. Ottobock, one of the world’s leading manufacturers of prostheses, designed its Fitness for Amputees app (available in iTunes or Google Play) for people who want to keep in shape with a prosthetic device.
We downloaded the fitness app and decided to create a review of the app for our patients and others who are dealing with limb loss and want help staying in peak condition.
Overview
Fitness for Amputees was developed by therapists working with Ottobock and is designed primarily for lower limb amputees. The app is cleanly designed and easy to navigate, and consists of three modules:
- Strength and endurance
- Coordination and balance
- Stretch and relax
Each module contains exercises that were designed by physical therapists to develop each of those areas. And each module can be scaled up or down in difficulty.
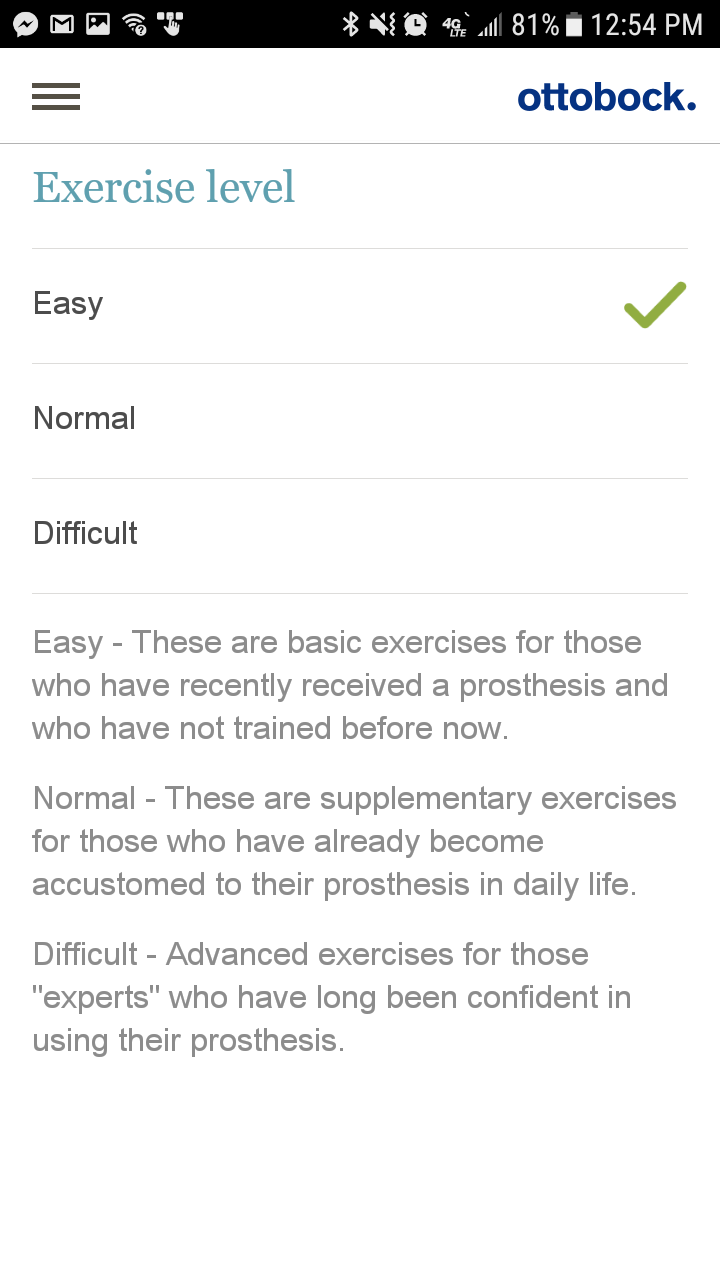
When you select an area to work on, the app will take you through a series of exercises that range in duration and intensity. You can use their recommended settings or create your own.
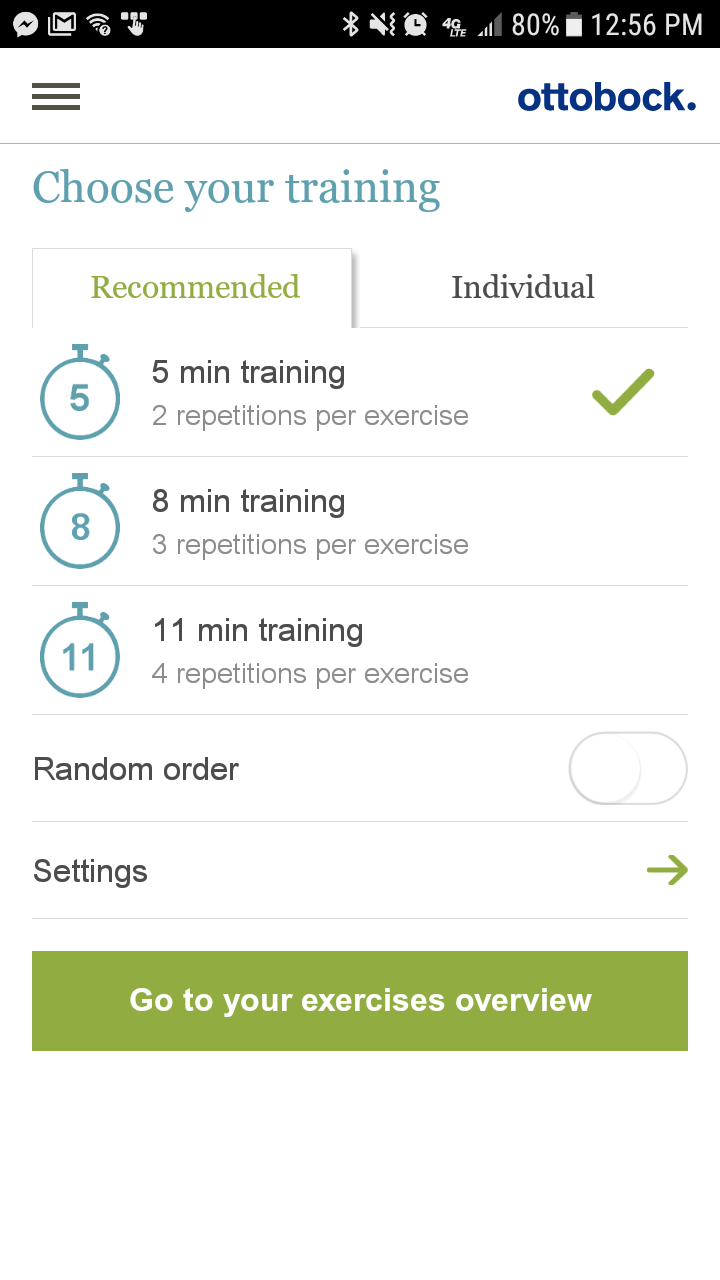
The result is a fairly customizable program tailored to your personal preferences.
Key Features
The Fitness for Amputees app has several key features, including:
- 3 different types of exercises
- Customizable, individual programs
- User data that tracks statistics
- Four exercises per exercise area
As far as the exercises go, each of them is recommended and a good thing to do, but there’s not a lot of variety because each area only has four. However, it’s a great place to start, and for many users, four is enough to create a solid program.
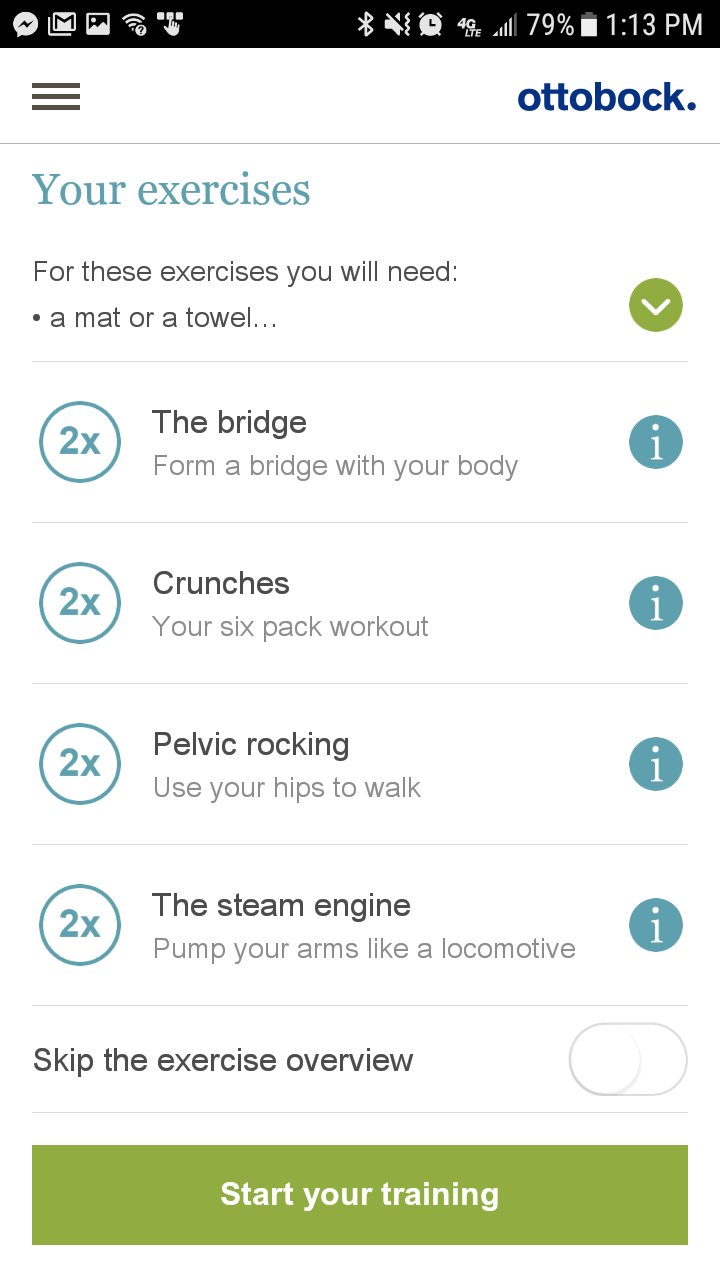
User Interface
The user interface is clean, easy to navigate, and easy to use. The text is easy to read, and the app does a good job of explaining what to do, with sample videos for each exercise (plus music to go along with the timer):

Overall, the layout is simple yet elegant and user-friendly as well.
Should You Use It?
There are a few minor things we’d recommend to improve it, namely more diversity in exercises and just more exercises period, but overall, Ottobock’s Fitness for Amputees app is a winner. If you’re looking to build up strength, increase balance, or just stretch your muscles, the app is an easy way to go about it and is a terrific intro into more complicated or advanced physical therapy regimens you may participate in down the road.
Download the Fitness for Amputees App Here
BioTech Limb and Brace makes prosthetic and orthotic devices that take advantage of cutting-edge technology to put smiles on peoples’ faces. Learn more about our personable approach and how we help patients and their families thrive.
A prosthesis, for an amputee, is something that becomes as much a part of their body as their natural limbs. That’s because you come to depend on it so much that you start to consider it a part of your real body.
That’s the goal, at least, with a well-fitting prosthesis. But what makes for a great prosthesis? What factors go into giving you the best, most comfortable, most productive fit for your body so that you can depend on your prosthesis and use it to live a full, active life?
The Fit of Your Socket
The first thing we as prosthetists try to make sure works well for you is the socket fit.
Socket fit is extremely important. When people have problems with their prostheses, it usually starts with the socket not fitting properly.
We take great care to ensure a custom socket fit through the combination of cutting-edge technology, custom materials, and decades of experience. Our goal is to mitigate the amount of friction and impact on your socket that can result in discomfort at best and pain at worst.
A properly-fitted socket will give you:
- Better control over your prosthesis’ function
- Reduced chance of friction between your limb and the socket (accomplished by fitting more snugly)
- More comfortable, healthier skin
There are a lot of factors that determine how well your socket will fit, from the material of the socket to the custom sock liner to how the prosthetic limb is suspended. Your prosthetist can go through the options with you and come up with a proper fit.
Alignment of the Prosthesis
How well all of the components of your prosthesis fit together is what we call alignment. A properly-aligned prosthesis is functional and comfortable. One that is misaligned is uncomfortable, inadequate, and unacceptable.
There are a lot of things that we consider when aligning your prosthetic device. These things include your residual limb, the size and shape of your body, your posture, the specific type of components used in your device, your control over the prosthesis, and your feedback when wearing the device.
A prosthetist takes all of the above into consideration and works with you to find the proper alignment that makes you mobile, fully functional, and comfortable. A properly-aligned prosthesis is the goal.
You!
The third factor in how well a prosthesis works is you! Specifically, we’re talking about your life, your abilities, and how well you can control the device.
We’ll look at your lifestyle - what you like to do, how active you are - plus what you do for work, your mobility, muscle strength, flexibility and coordination, stamina, balance, and more. We’re looking not just at what you can physically do now, but what you could do later.
It’s not just physical abilities, though. We also look at your mental state and how well equipped you are to handle the prosthesis and adapt to its use. This is best accomplished with physical therapy and counseling, if necessary, and we’ll work with you to help navigate this road you’re on so that you have a positive experience.
Getting the Best Prosthesis
As you can see, it’s not just about the prosthesis itself. But it’s a big part, and that’s where we come in. Our job is to make you the best prosthesis possible -- one that fits well, works well, and adapts well to your body so that it feels like an extension of yourself.
If you have any questions, or need to explore options with a prosthesis, feel free to talk to us. We’re happy to help you find the right prosthesis and the right team to support you in your journey.

Your ankle foot orthosis (AFO) is vitally important to helping you move around to the best of your ability. You’ll depend on it every single day, for hours at a time, which means you have to care for your AFO and keep it in proper working condition. Not to mention, you’ll want to be as comfortable as possible, which means knowing how to wear one.
At BioTech, we help patients with their AFOs every day. Over the years, we’ve gathered tons of advice and helpful information for our patients that we’ve learned, not just from being ankle foot orthosis experts but also from listening to our patients and the feedback they’ve given us.
Here, we’ve condensed years of insight into 10 tips for wearing and caring for your AFO that you can follow to get the most from your orthotic device.
1. Wear the Right Shoe
One mistake people make is thinking that just any shoe will do, and that they can wear the same-size shoe with their AFO.
To be comfortable, wear a lace-up shoe that can fit both your foot and the AFO. You’re looking for a snug, comfortable fit that still gives room for the AFO to move around a little bit.
The heel height matters, too; you want heel height that is the same across all of your shoes. The wrong heel height will affect how you walk and the alignment of your device.
2. It’s All About the Sock
We recommend wearing a cotton sock between your skin and the AFO so that you’re more comfortable and the AFO doesn’t rub up against your exposed skin. It should be long enough that you can roll or fold the top of the sock back over the AFO, so the sock stays in place and doesn’t ride down on your leg.
Some of our patients have said that wool socks also work well because they tend to be thicker. Go with what makes you comfortable and what works best for you.
During humid times of the year, you can even sprinkle baby powder on your leg before putting on the sock to cut down on moisture and friction. Consider changing socks several times a day, too.
3. Practice Makes Perfect
People who get new AFOs tend to have problems walking with their devices at first. But, this will go away with practice. Practice does make perfect. Give yourself plenty of chances to walk around with your physical therapist - or walk around in the safety of your own home - before you venture outside.
4. Check for Pressure Areas
Sometimes, your AFO will cause pressure areas to form. These are red areas where pressure has been placed by the AFO and is causing discomfort or possibly reducing circulation in your foot.
Check for pressure areas often. If you have a reddened area that doesn’t go away after 20 minutes, make sure you keep a careful eye on it and call your orthotist if you have concerns about the fit of your AFO. An adjustment may be necessary.
Speaking of adjustments...
5. Adjustments Will Happen
Expect for you and your orthotist to have to make some adjustments to your AFO before you find the perfect fit. This is completely normal. Don’t stress out if the AFO doesn’t fit just right at the beginning. Over time, you’ll find that ideal fit through careful adjustments with your orthotic professional.
6. Start Slow
If you’ve just started wearing an AFO, you need to give your body time to adjust. So, start by wearing the brace for just an hour at a time before taking it off and resting. For the first few days, alternate between wearing the orthosis and resting your leg.
Over the next week, you can gradually increase your wearing time until you’re wearing it comfortably for as long as you need.
7. Cleaning Your Device
Your device will consist of several thermoplastic components. These need to be cleaned at least once per week. Use mild soap when cleaning these sections, and be sure to completely rinse the parts after you’re done cleaning them.
Also, don’t soak your AFO in water. Just clean it by hand and avoid soaking, which can damage your device.
8. Lubricating Your Device
The metal joints will also have to be lubricated from time to time. Your orthotist can help you find the proper type of lubricant and tell you what kind of lubrication schedule you need to be on. Proper and regular lubrication is one of the best ways you can keep your AFO working just like it should.
9. Be Careful How You Dry Your Device
AFOs are vulnerable to direct heat sources. Let them air dry at room temperature. Make sure you don’t use a hair dryer or any other source of direct heat - such as an open fire or a space heater - to dry your AFO. You can towel-dry the device, then leave it lying in the open. One way you can accelerate the device’s drying time is to use a fan.
10. Don’t Make Adjustments Yourself
It’s really tempting to want to tinker with an AFO yourself, but we highly recommend only allowing an orthotist to make adjustments. These devices are carefully designed, finely tuned pieces of equipment that need a qualified hand to adjust them.
Ankle foot orthoses are terrific devices that allow a greater degree of mobility for countless patients from all walks of life. If you have an AFO, follow these AFO care tips to keep your device - and you - working smoothly.
For more information, contact your orthotist today.
One of the best ways to deal with limb loss is to start moving and stay active. By getting active and exercising your body, you’ll not only make your body stronger, but you’ll also make your mind stronger.
Plus, regular exercise boosts your spirits and helps create a positive outlook, which is always great.
Staying active doesn’t mean you have to take up a sport or do something extreme. You can get a good workout and build up strength and balance in your body just by doing some simple exercises on a regular basis.
Here are exercises we’ve identified that help you develop strength throughout your body and cultivate more balance, which will both help you get around the way you want.
Exercises for Strength
It’s important to build strength not just in the limb with your prosthetic device, but also in your support limbs and your core. A stronger body leads to better mobility. You’ll feel better, too.
Seated Push Up
One of the best things you can do to develop core strength and also build up strength in your lower and upper body at the same time is to do a seated push up.
Place a chair against a wall, then sit in the chair. Put your hands on the armrests or on the sides of the seat. Then, push down on the chair so that your hips and bottom are off the seat by two inches. Rest between repetitions.
If you want to add more difficulty to the exercise, you can simply by elevating a leg. If you do, alternate legs.
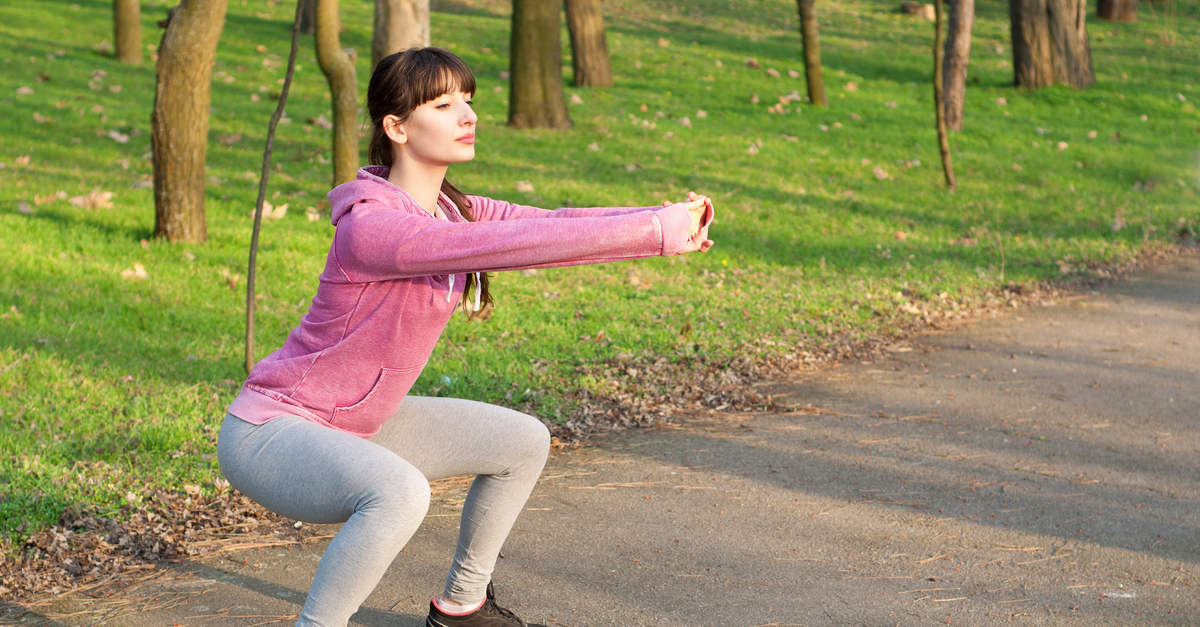
Squats
Squats are one of the best all-around full-body exercises you can do to build strength. There are two variants: a partial squat and a wall squat.
A partial squat is accomplished by holding onto something sturdy and spreading your weight across both legs. Then, while keeping your back straight, squat down like you’re sitting on a stool. Don’t go completely down to where your knees are at a 90-degree angle, but stop short so that it doesn’t become too uncomfortable.
If you want to go into a full squat, stand with your back on a wall and slide down until your knees are bent. You don’t have to go all the way to a 90-degree bend, but go as far as is comfortable. Hold this position for up to 30 seconds, or as long as you can, then rise back up and repeat.
Exercises for Balance
Strength is important, but so is balance. It can be difficult for new limb loss patients to regain their sense of balance without a lot of practice and hard work. Fortunately, you can do a few exercises to help you develop more balance and coordination.
Balanced Weight Bearing
This is not as much an exercise of the body as it is an exercise of both body and mind. Throughout your day, when you’re standing or walking, actively think about how you’re bearing your weight.
Most patients we see start out by putting most of their weight on their support limb. Try to evenly distribute your weight as you go throughout the day. If you’re walking, put equal weight on both limbs. If you’re lifting something with an arm prosthesis, try to bear as much of the weight on both arms as possible.
Think about it, visualize the weight, and then try to balance it out as much as possible.
Hands and Knees
This exercise will help you maintain balance no matter what limb is affected.
Get down on your hands and knees. Raise one arm in front of you, then put it down. Do the same for one of your legs. Once you’ve done this for each arm and each leg, try to raise your left arm and your right leg at the same time. Switch and do it again for the opposite side. Then, once you master this, try to hold the pose for a few seconds while continuing to breathe before relaxing.
During these exercises, keep your back straight and your eyes down toward the ground.
Balance Beam
You don’t have to use an actual beam for this; you can instead make your surface uneven by placing a pillow on the ground. No matter what you use, whether it’s an actual beam or a pillow, place it on a non-slick surface and then stand on it with one leg and stand on level ground with the other.
Place your hands on a support surface and gently sway back and forth, then to the left and right. Focus on keeping your muscles tight so you can support yourself.
Staying Active and Practicing Motion
The best way to develop strength and balance following limb loss is to give you and your prosthetic device lots of practice.
In addition to these exercises, try walking regularly. Think about doing calisthenics. Talk to your physical therapist and ask for suggestions as to what you can do at home.
Stay moving, and you’ll find you can do anything you want! In the meantime, contact BioTech for advice that will help you stay healthy and happy.
For those who’ve experienced limb loss, having a prosthesis is often at the top of the list as far as things to be grateful for. But many of the innovators who made today’s prosthetic technology possible often get overlooked. Today, we would like to name just a few of these spectacular individuals and give them thanks for their selfless work.
Early History
While no one can be entirely sure when prosthetics first entered the world, there are plenty of written stories to give us a good idea. Early stories from Egypt, Greece, Rome, and beyond mention primitive prosthetics, which indicates that they were relevant at the time. One of the first great minds in surgery and prosthetic design was Ambroise Paré, whose many contributions include an above-knee contraption and a much more functional foot prosthesis. Some other notable innovators include:
- Marcel and Charles Desoutter - Creators of the first aluminum prosthesis
- Dubois Parmlee - Creator of the multi-articulated foot, polycentric knee, and suction sockets
- Pieter Verduyn - Creator of the primary non-locking below-knee prosthetic limb
While these are only a few names amongst thousands who assisted in developing the blueprint for today’s prosthesis, we are thankful for everyone who dedicated their lives to improving the wellbeing of others.
Modern History
The late 1900s brought multiple developments that would drastically improve the functionality of the prosthesis. The first major change occurred when John Sabolich C.P.O., created a new socket that allowed the user’s weight to be distributed more evenly. This game-changing invention, which eventually came to be known as the Sabolich Socket, opened up a new world of socket designs. Figures like Chris Hoyt, Frank Gottschalk, and Tim Staats added even more improvements to this new line of thought. Another great invention was the microprocessor-controlled knee, which was designed by Chas. A. Blatchford & Sons, Ltd., and allowed for quicker responses to changes of pace.
Looking Towards the Future
Recent years have been very rewarding, and the future only looks brighter for those who’ve experienced limb loss. Carbon fiber has been a huge development, which the stronger but lighter material greatly reducing the amount of energy drained from the user. Artificial limbs are also making giant leaps, with new developments happening on a weekly basis.
BioTech - Studying the Past while Changing the Future
We are proud to not only be a current leader in prosthetic technology, but an innovator and early adopter towards future developments! A great example of this is our work with carbon fiber, which has improved the lives of countless patients. We are constantly searching for the next invention that will assist our amazing clients in turning their disabilities into possibilities. Contact us today for more information.

Maintaining a proper diet is important for everyone, but for those who’ve experienced limb loss, it’s truly life changing. Not only does a healthy diet make gait training and other challenges easier, but eating poorly can create life-threatening problems. However, staying healthy is easier said than done, and finding the right foods for the body can be difficult. Let’s discuss some recommended methods of keeping a healthy diet after limb loss.
Food
First and foremost, stay away from fast and unhealthy foods. While this sounds like obvious advice, it’s a challenge for many of us! Next, add some variety to your plate - and make it a balanced meal. Make it a goal for half of your plate to be fruits and vegetables, a quarter protein, and a quarter starches. Remember, protein doesn’t have to be meat. Beans and lentils are among the many replacements you can use.
There are also specific foods that improve the wound-healing process. This includes protein, carbohydrates, polyunsaturated fatty acids, and certain vitamins and minerals. These allow you to receive the necessary nutrients for a much more efficient healing process.
Portions
An important truth to face after limb loss is that your calorie intake will change. This means that your portions will need to be smaller, and snacking will have to be reduced. There will also need to be a focus on reducing the amount of food eaten due to stress, boredom, anger, and other stimuli. Eating slowly gives your body time to tell you it’s full, so take your time and enjoy your meal. It’s better to be comfortably full then overly stuffed.
Planning
Preparing healthy meals is very important for continuing positive progress with your diet. Not having to make a meal every time you’re hungry eliminates one of the biggest obstacles of improved eating! Whenever you cook, make more than you need and freeze some for future dinners. We all get tired after work, and having an easy option ready to go gets rid of the unhealthy temptation to order fast food.
BioTech Can Help
Our years of experience have allowed us to see what works best for those with limb loss. We are experts in everything from diet to exercise, and much more! Make sure you’re getting the most out of your prosthetic experience, and let the BioTech team provide the best path to a long and healthy life. Contact us today for more information.
Prosthetic devices continue to make drastic improvements with each new year, but no matter how sophisticated they become, there are still simple everyday tools that can improve inconveniences like prosthetic limb irritation and nighttime mobility. Whether they are used on the device itself or in the environment around the user, there are thousands of little life hacks to greatly improve the entire experience.
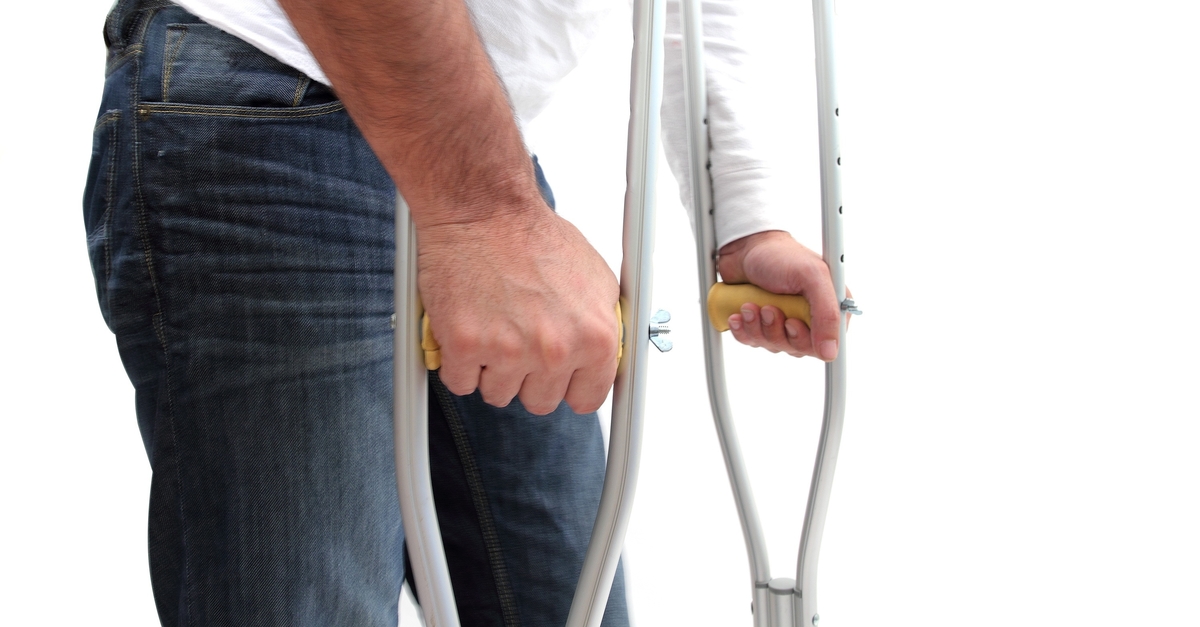
Crutches
Between long days, emergency situations, and nighttime needs, crutches are pretty important to have around. However, the crutches most of us think of are no longer the only options for those who’ve experienced limb loss. There are many more options available now, and designers and entrepreneurs have created crutches based on specific needs they have noticed. Want crutches with great hand grips? How about SideStix Crutches, which allow you to become much more active? We think they’re a great option.
Bike Hex Wrench
This tool is easy to carry and greatly improves your ability to adjust prosthetic alignment while out and about. They are very affordable, with an average price below $10, and the convenience they provide will have you wondering what you did before you got one!
Shoe Horns
Anyone with a leg prosthesis can attest to the difficulty of trying to put on a shoe. Shoe horns are great for the home, but it’s important to have them elsewhere, as well! Keep one nearby as often as possible, and avoid spending time stressing over getting your shoe on.
Handrails
Placing handrails in necessary areas throughout your house will make your everyday experience much easier, while also providing more stability for visitors! They are also a generally cheap home improvement project and can be taken as an opportunity to spruce up your home a little.
Ask BioTech for Help!
Since our founding in 2000, we’ve made it our priority to make every part of the prosthetic experience as comfortable as possible. Whether you’re seeking consultation, a better prosthesis, or you have questions about improving your daily well-being, we are ready and available to help you turn disabilities into possibilities! Contact us today for more information.